Run, run, run!
Anywho...I haven't done a whole lot of crafting in this time, but I have made a couple things...here is what I've been working on.
 |
| One empty box (I like the wipes boxes or the small huggies diaper boxes) |
 |
| Enough Burlap (or canvas to cover all sides) |
 |
| Spray Adhesive, Aleene's Fast Grab Tacky Glue (or hot glue), scissors, ribbon |
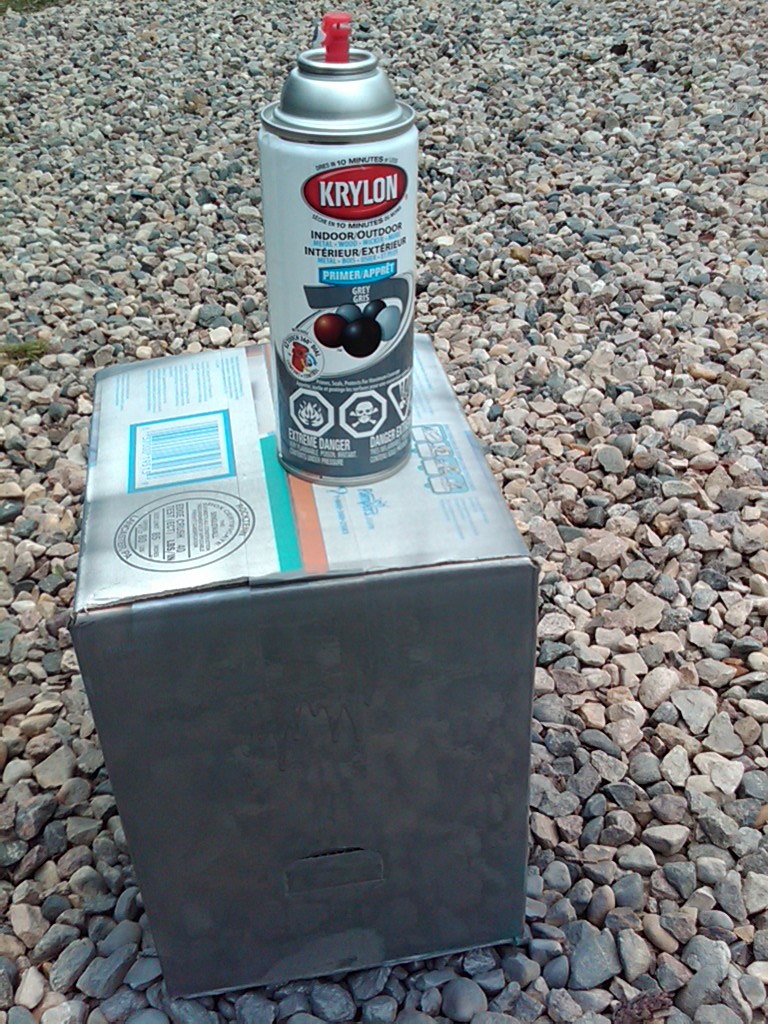 |
| Before starting, spray with Krylon spray paint (I used Grey - Indoor/Outdoor) Let dry |
1. Once spray paint is dry, spray the Elmer's Adhesive on one (1) side at a time, pressing the burlap as you go.
2. Don't worry about the edge/corner right now, you can make it pretty in the end; or for this project I just left it because it will be hidden at the back.
3. When all four (4) sides are dry, check to make sure that none of the fabric lifted. If this happens, I just add some of the Fast Grab Tacky Glue to that area.
4. Using the Tacky Glue, adhere the ribbon to all four (4) sides. (I put mine at the top for this project)
5. Feel free to spice it up by using different material, adding embellishments, flowers, etc! I currently have 2 made. One is on my shelf above my cabinets holding odds N ends. The other I am using as a storage bin for all my lunch supplies for my kiddies!


 (Step #2)
Hope you like it!
~Happy Crafting~
Excellent tutorial!
ReplyDelete